


Properly installing the corners of a shower room is crucial for ensuring its functionality, durability, and water – tightness. A well – installed shower room corner not only prevents water leakage but also enhances the overall safety and aesthetic appeal of the bathroom. Here are the detailed steps and key considerations for correctly installing shower room corners.
Preparation Before Installation
Before starting the installation process, thorough preparation is essential. First, measure the corner accurately. Use a tape measure to determine the dimensions of the walls where the shower room will be installed. Ensure that the measurements are precise, as even a small deviation can lead to fitting issues later. Next, gather all the necessary tools and materials. Common tools include a level, a drill, a screwdriver, a hacksaw (if adjustments to the frame are needed), and a silicone caulking gun. For materials, you will need the shower room corner frame components, glass panels (if applicable), screws, wall anchors, and high – quality silicone sealant. It’s also important to inspect all the components for any damages or defects. Make sure the frame pieces are straight and undamaged, and the glass panels are free from cracks or scratches. Additionally, clean the installation area thoroughly. Remove any dust, debris, or old adhesive residues from the walls and floor to ensure a smooth and clean surface for installation.
Installing the Corner Frame
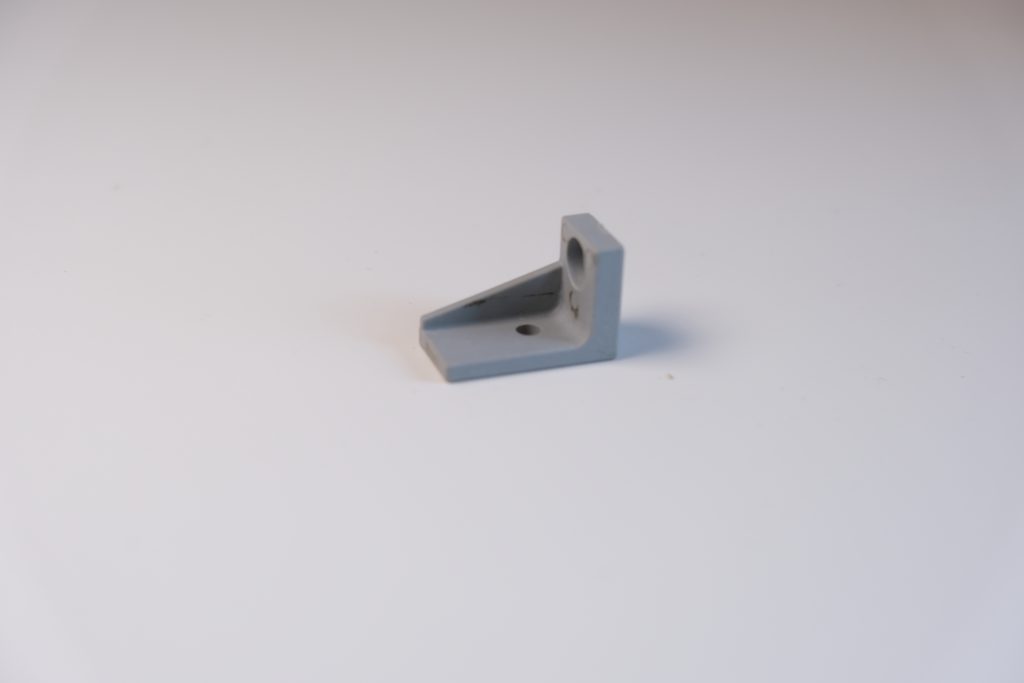
Begin the installation by assembling the corner frame according to the manufacturer’s instructions. Most shower room corner frames consist of vertical posts and horizontal bars that form the structure. Use the provided screws and connectors to join the frame pieces together securely. Ensure that the frame is square and the corners are at a perfect 90 – degree angle. You can use a carpenter’s square to check the angles. Once the frame is assembled, position it in the corner of the bathroom. Use a level to make sure the frame is plumb vertically and horizontal bars are level. Adjust the position of the frame as needed to achieve perfect alignment. Mark the locations of the screw holes on the walls and floor through the holes in the frame. Then, drill pilot holes at the marked locations. For walls, if they are made of drywall, use appropriate wall anchors to provide a secure hold for the screws. Insert the screws through the frame holes and into the pilot holes, tightening them gradually and evenly to avoid warping the frame. Make sure the frame is firmly attached to the walls and floor.
Installing the Glass Panels (if applicable)
If your shower room design includes glass panels, install them after the frame is in place. Carefully lift the glass panels and insert them into the channels or grooves in the frame. Some glass panels may require the use of rubber or silicone gaskets to create a snug fit and prevent scratching. Make sure the glass panels are properly aligned and sit securely within the frame. If there are multiple glass panels, ensure that the joints between them are aligned correctly. Some shower room designs may use clamps or clips to secure the glass panels in place. Install these according to the manufacturer’s instructions. Check that the glass panels are stable and do not wobble. If any adjustments are needed, loosen the securing mechanisms slightly, reposition the glass, and then tighten them again.
Sealing the Corners
Sealing is a critical step to prevent water leakage from the shower room corners. Apply a generous bead of high – quality silicone sealant along all the joints where the frame meets the walls, floor, and glass panels. Start from one end and move slowly, ensuring that the sealant fills the gaps completely. Use a caulking tool or your finger (wearing a glove) to smooth the sealant, creating a neat and even finish. Make sure there are no air bubbles or gaps in the sealant. Pay special attention to the corners where the walls meet the floor and where the glass panels intersect. These are the areas most prone to water leakage, so ensure a thick and continuous layer of sealant. Allow the sealant to dry completely according to the manufacturer’s recommended drying time before using the shower room. This usually takes 24 – 48 hours, but it can vary depending on the type of sealant and environmental conditions.
Final Inspection and Testing
After the installation and sealing are complete, conduct a final inspection. Check all the connections, screws, and joints to ensure they are tight and secure. Look for any signs of misalignment or gaps in the frame or glass panels. Also, inspect the sealant to make sure it has dried properly and formed a continuous seal. Once the inspection is done, it’s time to test the shower room. Turn on the shower and let the water run for a few minutes, paying close attention to the corners. Check for any signs of water leakage on the walls, floor, or outside the shower area. If you notice any leaks, turn off the water and address the issue immediately. This may involve applying additional sealant or tightening loose connections.
In conclusion, correctly installing shower room corners requires careful preparation, precise assembly, proper sealing, and thorough testing. By following these steps and paying attention to the details, you can ensure a leak – free, durable, and aesthetically pleasing shower room that will serve you well for years to come.


